Vinyl fences have become a popular choice for homeowners due to their durability, aesthetic appeal, and low maintenance requirements. Understanding how to properly install a vinyl fence can save you time and money. Explore the basics of vinyl fence installations, address common questions, and find practical tips.
What is the Process for Installing the Fence Posts?
Instructions for Digging Post Holes
Installing fence posts correctly is crucial for the stability and longevity of your vinyl fence. Begin by marking the location of each post hole, ensuring they align with your planned layout.
Use a posthole digger to excavate holes that are approximately one-third as deep as the height of the posts. A typical depth ranges between 24 to 36 inches, depending on the fence’s height and local frost line requirements.
The diameter of each hole should be around three times the width of the post to provide sufficient stability. As you dig, remove any rocks or roots that may interfere with the placement of the posts. Maintaining uniform depth and width across all holes aids in achieving a consistent and level fence line, enhancing the overall appearance and functionality of your vinyl fence.
Once the holes are prepared, add a layer of gravel at the bottom for drainage, which helps prevent water accumulation and post rotting. This step is especially important in areas prone to heavy rainfall or melting snow. Proper drainage extends the fence’s lifespan by protecting the integrity of both the posts and the panels attached to them.
Setting Fence Posts for Stability and Longevity
Setting the fence posts accurately is a critical step in the installation process that determines the fence’s overall stability. Start by placing each post into its respective hole, ensuring it stands vertically using a level. Proper alignment is crucial for the fence panels to attach properly and for the fence to maintain its structural integrity over time.
Once aligned, fill the hole with concrete to secure the post. Use a shovel or trowel to ensure the concrete is evenly distributed around the post, eliminating any air pockets that could compromise stability. Allow adequate time for the concrete to cure—typically 24 to 48 hours—before proceeding with the installation of the fence panels.
During the curing process, frequently check the alignment of the posts with a level to correct any shifts. This attentive approach to setting fence posts not only enhances the durability and appearance of your vinyl fence but also assures its functionality in providing security and privacy for years to come.
How Can You Maintain and Care for Your Vinyl Fence?
Routine Maintenance Tips for Longevity
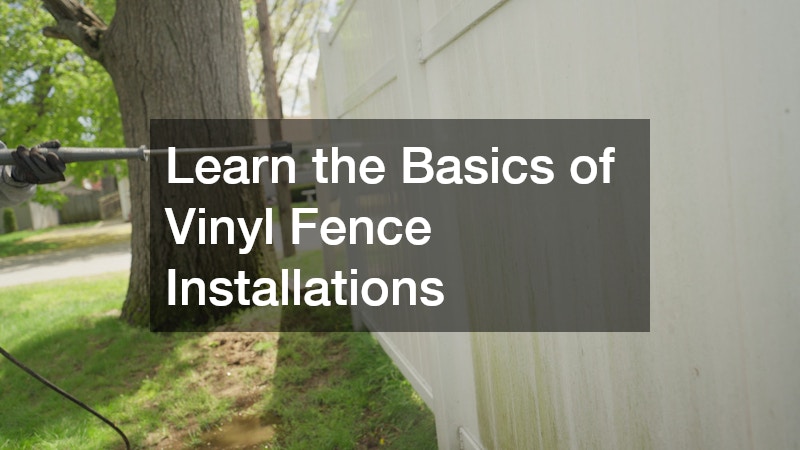
Vinyl fences are renowned for their low maintenance requirements, but routine care can significantly extend their lifespan. Begin by regularly cleaning the fence with a garden hose to remove dirt and debris. For tougher stains or mold, use a mild detergent mixed with water and a soft brush to gently scrub the affected areas. Avoid harsh chemicals that could damage the vinyl surface.
Conduct periodic inspections to identify any minor damages, such as cracks or loose fasteners. Addressing these issues promptly prevents them from escalating, which can save time and money in the long run. Re-tightening screws and replacing damaged panels or posts as needed is essential to maintaining the fence’s structural integrity and aesthetic appeal.
Lastly, apply a protective UV coating if recommended by the manufacturer. This additional layer shields the vinyl from sun exposure, helping to prevent fading or discoloration over time. Consistent and proactive maintenance ensures your vinyl fence remains a sturdy and attractive feature of your property for years to come.
Caring for Your Fence in Different Weather Conditions
Vinyl fences are designed to withstand various weather conditions, but extra precautions can further safeguard them during extreme climates. In regions prone to high winds, ensure all panels and posts are securely fastened to prevent them from being dislodged. Reinforce the base of the posts if necessary for added stability during severe weather events.
During colder months, regularly check the fence for signs of frost heave or damage caused by ice. Clear any snow accumulation promptly to prevent unnecessary weight on the structure. Use caution when removing snow to avoid scratching or damaging the vinyl surface with shovels or other tools.
In contrast, extreme heat can cause vinyl to expand. Ensure adequate spacing between components during installation to allow for slight expansion and contraction. Providing flexibility within the fence design helps accommodate these changes without compromising the fence’s structure or appearance. By addressing weather-related challenges proactively, you preserve the quality and longevity of your vinyl fence.
Installing a vinyl fence can seem daunting, but with the right preparation and understanding, it is a manageable DIY project. By following the steps and considerations outlined in this article, you can ensure a successful vinyl fence installation that enhances your property’s aesthetics and functionality. Remember, the key to a durable fence lies in careful planning and regular maintenance.